Growing feminized cannabis seeds is highly rewarding. Whether you’re new to cannabis cultivation or looking to refine your skills, this comprehensive guide will provide you with detailed instructions and best practices to achieve a successful harvest. We’ll cover everything from seed selection and germination to harvesting and curing. Let’s get started!
Table of contents
- Understanding Feminized Cannabis Seeds
- Selecting the Right Strain
- Planting Feminized Cannabis Seeds
- Watering Techniques
- Lighting Requirements
- Nutrient Management
- Growing Conditions
- 1. Germination Process
- 2. Seedling Stage
- 3. Vegetative Stage
- 4. Flowering Stage
- Pest and Disease Management
- Harvesting Feminized Cannabis
- Drying and Curing
- Common Mistakes to Avoid
- Indoor vs. Outdoor Growing
- Conclusion
- FAQs
Understanding Feminized Cannabis Seeds
What Are Feminized Seeds?
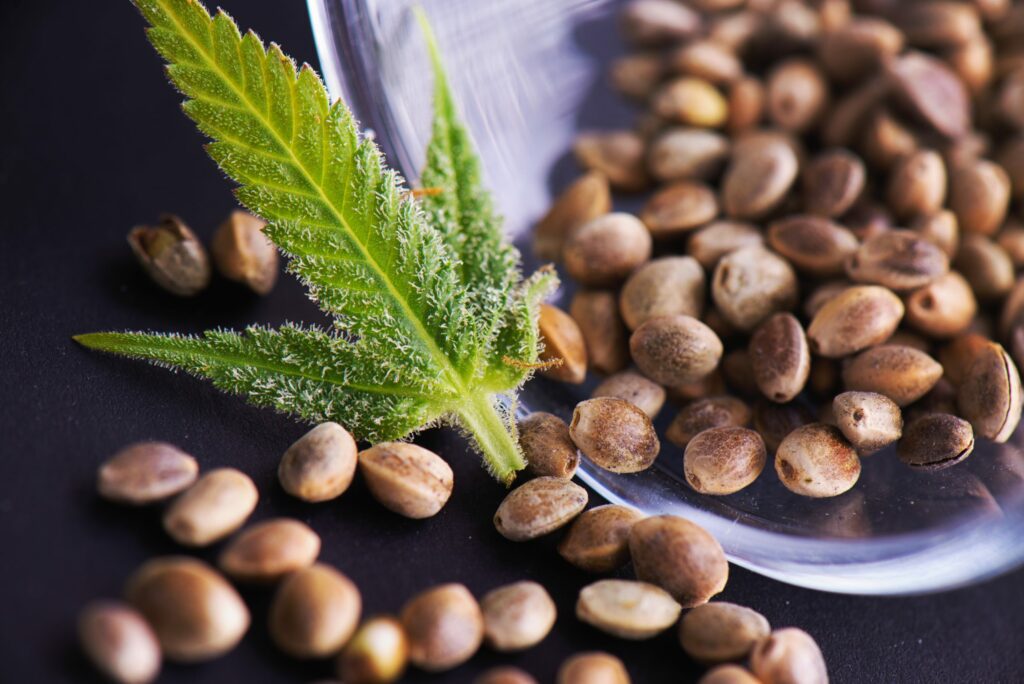
Feminized seeds are bred to produce only female plants. This is achieved by eliminating male chromosomes through various breeding techniques. Female plants are the ones that produce the cannabinoid-rich buds you’re aiming to harvest. The breeding process involves stressing female plants to produce pollen, which is then used to pollinate other female plants, ensuring the offspring are also female.
Unlike regular seeds, which have a 50% chance of producing male plants, feminized seeds eliminate the need to identify and remove males, streamlining the cultivation process and ensuring a higher yield of consumable product.
Benefits of Feminized Seeds
- Guaranteed Bud Production: No need to identify and remove male plants, which do not produce buds. This makes the growing process more efficient and maximizes your yield.
- Efficient Use of Space: Every plant contributes to your yield. In small growing spaces, this is particularly beneficial.
- Simplified Growing Process: Focus on cultivating bud-producing plants. This reduces the complexity and labor involved in managing your grow.
Selecting the Right Strain
As a trusted partner of Sociedelic, Shayana provides a range of feminized cannabis seeds that are ideal for any grower looking to cultivate potent buds. These seeds are designed to produce female plants, ensuring a garden full of the desired flowers without the hassle of male plants.
Feminized seeds from Shayana are reliable and easy to grow, suitable for both beginners and experienced cultivators. They promise a high yield of quality flowers, perfect for personal use or commercial cultivation.
Here are some top feminized strains from Shayana:
- Brain Damage: Known for its strong effects and high THC levels.
- White Fire OG: Offers an uplifting high and resin-dense buds.
- The Real Amnesia: Praised for its potent cerebral effects and abundant yields.
- Frosty Gelato: Features sweet flavors and a relaxing, euphoric high.
- Bruce Banner: Delivers a powerful impact with high THC content and balanced effects.
- Banana Glue: Combines a fruity taste with strong, relaxing properties.
- Blue Dream Sherbet: Popular for its tasty profile and uplifting high.
- Monster Bud: Renowned for its large yields and potent buds.
- Tropical Cookies: Blends tropical flavors with a calming high.
- Gorilla Cookies: Known for its potent effects and delicious cookie flavors.

For those looking to add some variety to their grow, Shayana’s Mystery Seed Packs are a great option. These packs include top-quality feminized seeds at a good value, introducing new strains and adding an element of surprise to your cultivation process.
Autoflowering Cannabis Seeds
For those looking to streamline their growing experience even further, autoflowering cannabis seeds offer an excellent option. These seeds automatically transition from the vegetative to the flowering stage, regardless of light cycles. This characteristic makes them ideal for beginners and those looking for quicker harvests. Autoflowering seeds combine the ease of growth with the ability to produce high-quality, potent buds. To learn more about growing autoflowering cannabis, check out our detailed How To Grow Autoflower Cannabis Seeds.
Factors to Consider:
- Climate: Choose a strain that suits your local growing conditions. For instance, some strains are better suited for cooler climates, while others thrive in warmer environments.
- Growing Environment: Determine if you’re growing indoors or outdoors as some strains are better suited for controlled environments.
- Experience Level: Some strains are more forgiving for beginners. Look for strains known for their hardiness and resilience.
- Desired Effects: Select strains based on the effects you prefer (e.g., relaxing vs. energizing). Consider whether you want a strain for daytime use, which tends to be more uplifting, or nighttime use, which is typically more sedative.
Planting Feminized Cannabis Seeds
Soil vs. Hydroponic Systems
- Soil: Easier for beginners, provides natural nutrients, more forgiving. Soil grows tend to produce plants with a richer flavor profile due to the organic matter.
- Hydroponics: Offers faster growth and higher yields but requires more knowledge and equipment. Hydroponic systems deliver nutrients directly to the roots, which can speed up the growth process.
Preparing the Growing Medium
- For Soil: Use a well-draining soil mix with organic matter. Amend with perlite or vermiculite for aeration. It’s important to ensure the soil has a balanced pH, typically between 6.0 and 7.0.
- For Hydroponics: Select a system like deep water culture and prepare a balanced nutrient solution. Hydroponic setups require precise control of pH and nutrient levels, which should be monitored regularly.
Planting Tips
- Plant seeds about 1/4 inch deep in the growing medium.
- Water lightly after planting to settle the soil around the seeds.
- Keep the growing medium warm and moist until seedlings emerge.
Watering Techniques
How Often to Water
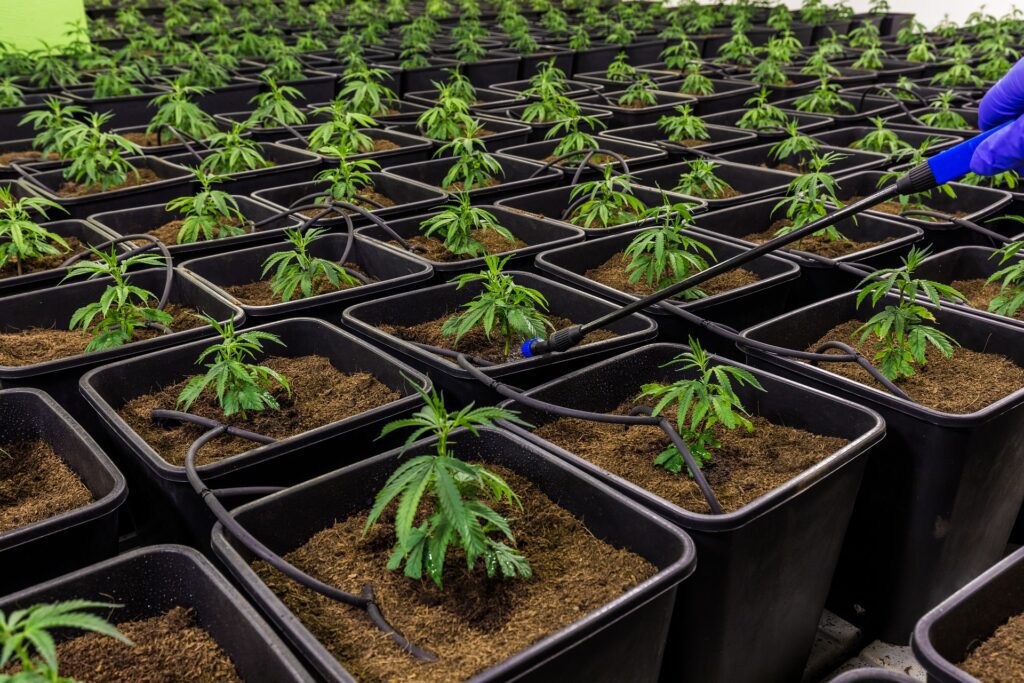
- Seedlings: Light watering to keep the soil moist. Overwatering can lead to root rot.
- Vegetative Stage: Water when the top inch of soil is dry. The roots should be allowed to dry out slightly between waterings to encourage healthy root growth.
- Flowering Stage: Increase watering frequency, ensuring deep watering without waterlogging. Plants may need more water as they grow larger and develop buds.
Signs of Overwatering and Underwatering
- Overwatering: Yellowing leaves, drooping, moldy soil. This can lead to root rot and other issues.
- Underwatering: Dry, brittle leaves, soil pulling away from the pot edges. Consistent underwatering can stunt plant growth and reduce yield.
Watering Tips
- Water early in the day to allow excess moisture to evaporate.
- Use pH-balanced water to prevent nutrient lockout.
- Consider using a moisture meter to accurately gauge soil moisture levels.
Lighting Requirements
Ideal Lighting for Indoor Growing
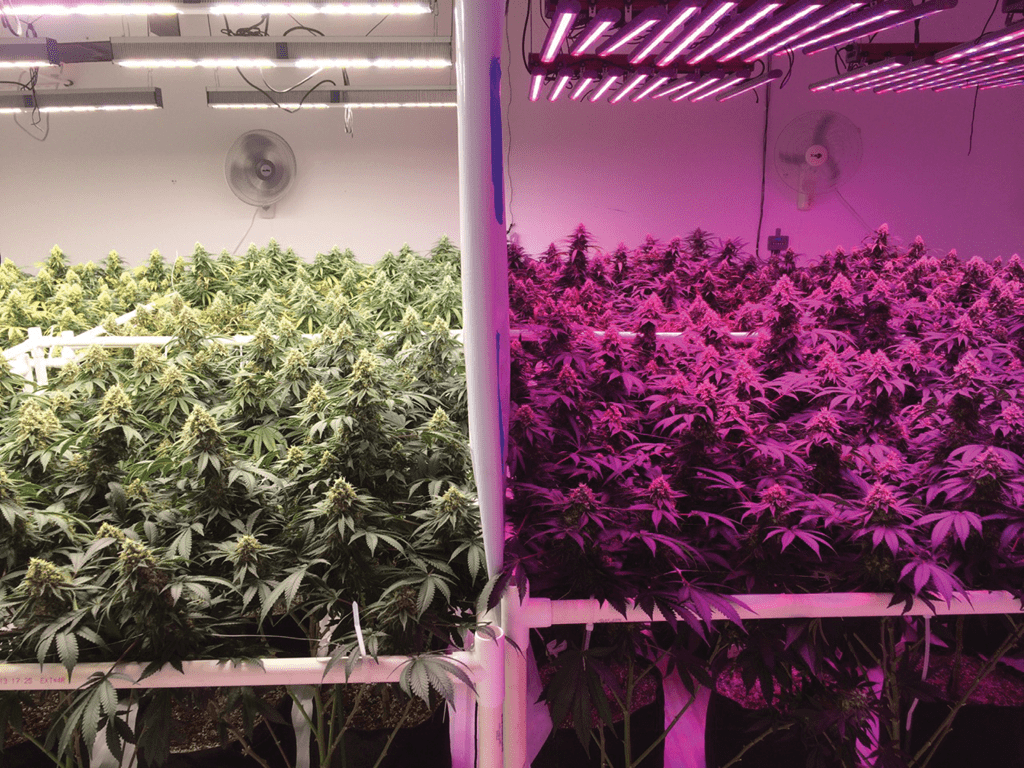
- Vegetative Stage: 18-24 hours of light per day with blue-spectrum lights (6500K). This light spectrum promotes healthy leaf and stem growth.
- Flowering Stage: 12 hours of light and 12 hours of darkness with red-spectrum lights (2700K). The red spectrum supports bud development and flowering.
Natural Light Considerations for Outdoor Growing
- Location: Ensure at least 6 hours of direct sunlight daily. Position plants in a spot where they receive morning sun and are shaded in the intense afternoon heat.
- Season: Plant in spring to take advantage of the natural light cycle. This allows the plants to grow through the long days of summer and flower in the shorter days of fall.
Lighting Tips
- Maintain proper distance between lights and plants to prevent light burn.
- Adjust light intensity and duration based on the growth stage.
- Use reflective surfaces in indoor grows to maximize light efficiency.
Nutrient Management
Essential Nutrients
- Nitrogen (N): Crucial for vegetative growth. It supports the development of leaves and stems.
- Phosphorus (P): Essential during flowering. It aids in the formation of buds and flowers.
- Potassium (K): Important throughout the plant’s life cycle. It helps with overall plant health and stress resistance.
Organic vs. Synthetic Nutrients
- Organic: Made from natural sources, environmentally friendly, improves soil health. Examples include compost, bone meal, and fish emulsion.
- Synthetic: Easier to control and measure, often results in faster growth and higher yields. These are chemical fertilizers specifically formulated for cannabis.
Feeding Schedule
- Follow a feeding schedule that matches the plant’s growth stage.
- Start with a low nutrient concentration and gradually increase.
- Flush plants with plain water periodically to prevent nutrient buildup.
Growing Conditions
Temperature and Humidity Control
- Vegetative Stage: 21-29°C (70-85°F), 40-70% humidity. Higher humidity helps support vigorous growth and development.
- Flowering Stage: 18-26°C (65-80°F), 40-50% humidity. Lower humidity reduces the risk of mold and mildew on developing buds.
Air Circulation and Ventilation
- Use Fans: Promote air movement to prevent mold and strengthen plant stems.
- Ventilation System: Ensure fresh air exchange to keep CO2 levels optimal. Proper ventilation helps maintain consistent temperature and humidity levels.
Environmental Tips
- Monitor temperature and humidity with a reliable hygrometer and thermometer.
- Adjust ventilation and airflow to maintain optimal conditions.
- Use oscillating fans to ensure even air distribution throughout the grow area.
1. Germination Process
Step-by-Step Germination
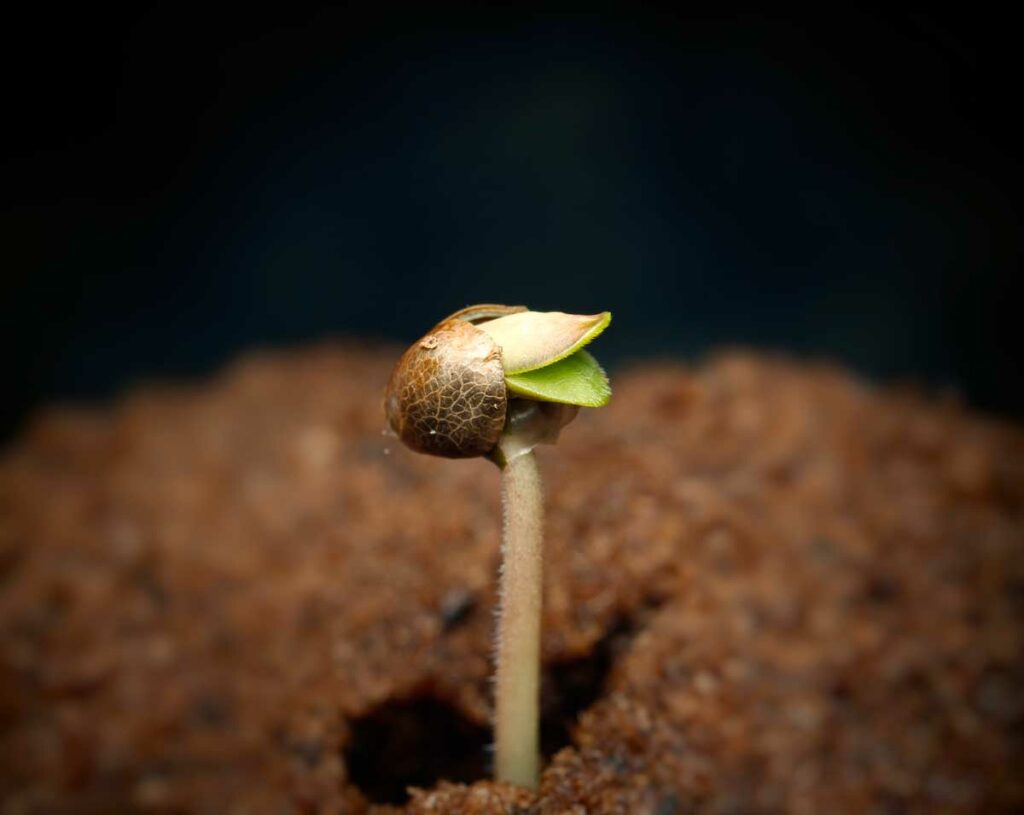
- Soak Seeds: Place seeds in a glass of water for 24-48 hours until they sink. This process helps to soften the seed shell and kick-start the germination process.
- Prepare Paper Towels: Moisten two paper towels and place the seeds between them. Fold the paper towels over the seeds to ensure they stay moist.
- Keep Warm: Store the paper towels in a warm, dark place (21-29°C or 70-85°F). Ideal locations include the top of a refrigerator or a cupboard.
- Monitor Moisture: Ensure the paper towels remain moist but not soaked. Check the towels regularly to maintain the right moisture level.
- Wait for Taproots: Within a few days, seeds should sprout taproots. These roots are the first sign of successful germination and should be about half an inch long before planting.
Best Practices for Successful Germination
- Use Distilled Water: This reduces the risk of contaminants affecting seed health.
- Maintain Consistent Temperature: Fluctuating temperatures can hinder germination.
- Handle with Care: Use tweezers to handle seeds and sprouts to avoid damage.
2. Seedling Stage
Care and Maintenance of Seedlings
Seedlings are delicate and require careful attention. Ensure they have:
- Proper Lighting: 18-24 hours of light daily, placed close but not too intense.
- Adequate Watering: Keep the soil moist but not saturated.
- Humidity: Higher humidity levels (60-70%) to support growth.
Light Requirements
Seedlings need ample light for healthy development. Use full-spectrum LED or fluorescent lights to provide the necessary wavelengths without producing excessive heat.
Watering and Nutrient Needs
Water seedlings with a gentle hand, ensuring they receive enough moisture without being waterlogged. Introduce diluted nutrients gradually, starting with a quarter of the recommended dosage.
3. Vegetative Stage
Growth Techniques
The vegetative stage is when plants grow rapidly, developing leaves and stems. Techniques to enhance growth include:
- Topping: Cutting the main stem to encourage bushier growth.
- LST (Low-Stress Training): Bending and tying branches to create an even canopy.
- HST (High-Stress Training): More aggressive techniques like super cropping to stimulate growth.
Nutrient Management
During the vegetative stage, plants require higher levels of nitrogen. Use a balanced nutrient mix designed for this stage and monitor pH levels to ensure optimal nutrient uptake.
Training and Pruning
Maximizing Yield Techniques
- Topping: Cut the main stem to encourage bushier growth. This results in more bud sites and potentially higher yields.
- LST (Low-Stress Training): Gently bend and tie down branches to increase light exposure. This technique can improve light penetration and air circulation.
- SCROG (Screen of Green): Use a screen to train plants horizontally, maximizing canopy light exposure. This method helps create an even canopy and maximizes the use of available light.
Pruning
- During Vegetative Stage: Remove lower leaves and small branches that receive little light. This focuses the plant’s energy on the top growth where it can be more productive.
- Avoid Pruning in Flowering Stage: Minimizes stress and risk of infections. Pruning during flowering can shock the plant and reduce yield.
Training and Pruning Tips
- Be gentle when training plants to avoid breaking stems.
- Prune strategically to improve airflow and light penetration.
- Use clean, sharp tools to make clean cuts and reduce the risk of disease.
4. Flowering Stage
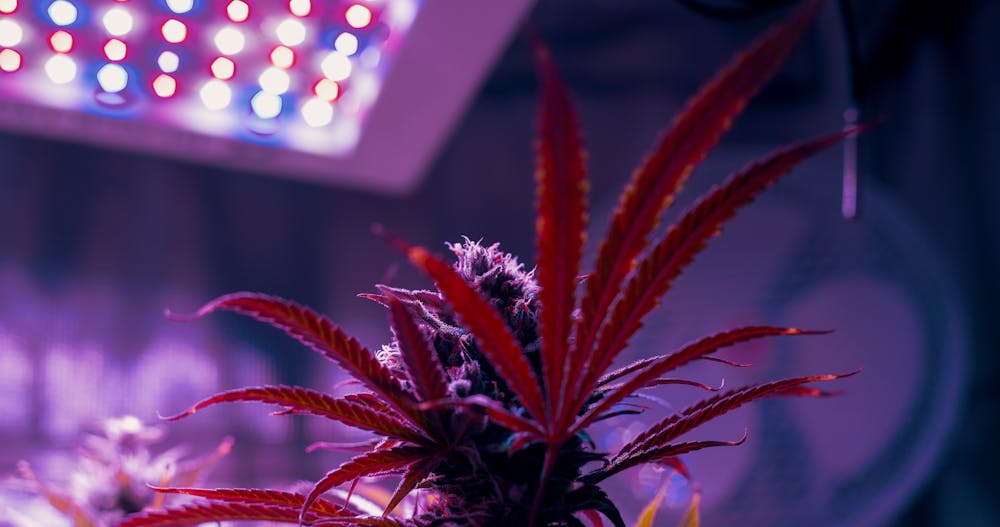
Identifying the Flowering Stage Begins when plants receive less light (12 hours or less). Signs include small white hairs (pistils) appearing at the nodes and plant stretching. Plants may double in size during the early flowering stage.
During flowering, reduce nitrogen and increase phosphorus and potassium. Monitor and adjust pH levels to remain within the optimal range (6.0-6.5 for soil, 5.5-6.0 for hydroponics).
Adjusting Care During Flowering
- Reduce Nitrogen: Focus on phosphorus and potassium to support bud development. Too much nitrogen can inhibit flowering.
- Monitor Humidity: Keep humidity lower to prevent mold and mildew. High humidity can lead to bud rot and other fungal issues.
Flowering Tips
- Maintain consistent light and dark periods to prevent stress.
- Support heavy branches with stakes or trellises.
- Continue to monitor for pests and diseases.
Pest and Disease Management
Common Pests and Diseases
- Aphids: Small, sap-sucking insects that can weaken plants. They are usually found on the underside of leaves.
- Spider Mites: Tiny pests that cause leaf discoloration and webbing. They thrive in hot, dry conditions.
- Powdery Mildew: Fungal disease that appears as white powder on leaves. It spreads quickly in high humidity and poor air circulation.
Preventative Measures and Treatments
- Regular Inspections: Check plants weekly for early signs of pests or disease. Early detection is key to effective control.
- Neem Oil: A natural pesticide effective against many common pests. It can be used as a preventive measure or to treat infestations.
- Proper Sanitation: Keep your grow area clean to reduce the risk of infestations. Remove dead leaves and plant debris promptly.
Pest Management Tips
- Use beneficial insects like ladybugs and predatory mites to control pest populations.
- Apply organic pest control sprays as needed.
- Maintain healthy plants through proper watering, feeding, and environmental control.
Harvesting Feminized Cannabis
Signs of Readiness for Harvest
- Trichome Color: Trichomes should turn from clear to milky white with some amber. This indicates peak potency.
- Pistil Color: Pistils should change from white to orange or brown. This is another sign that the buds are mature.
Best Practices for Harvesting
- Timing: Harvest in the early morning when terpene levels are highest. This helps preserve the flavor and aroma of the buds.
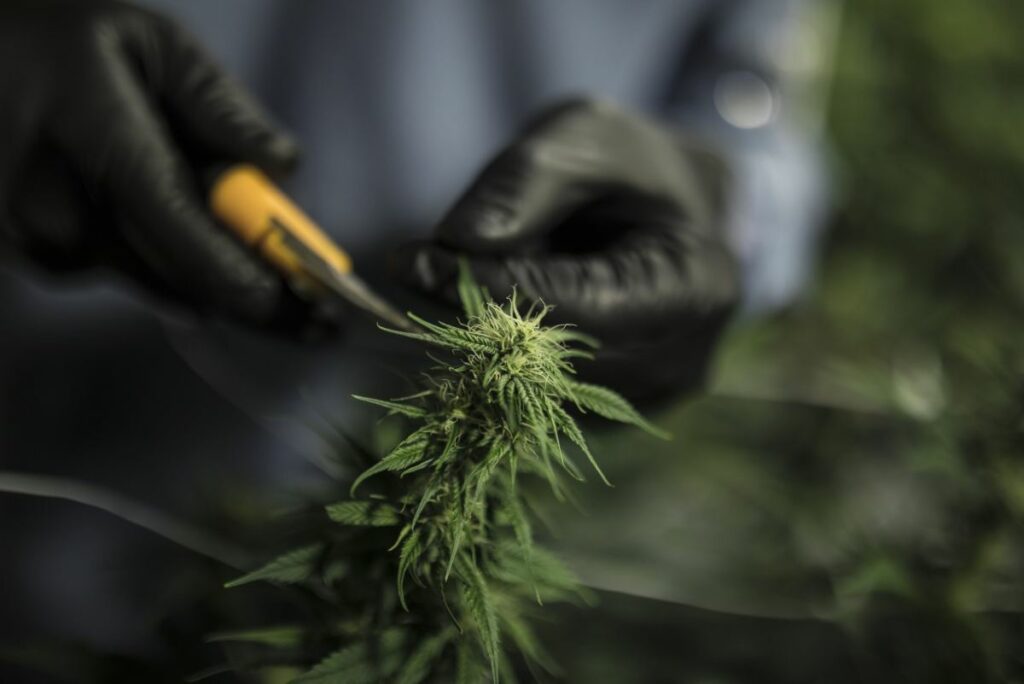
- Cutting: Use sharp, sterilized scissors to cut branches. This prevents damage to the plant and reduces the risk of introducing pathogens.
Harvesting Tips
- Handle buds carefully to avoid damaging trichomes.
- Trim large leaves before hanging plants to dry.
- Label harvested plants with strain information and harvest date.
Drying and Curing
Drying Process
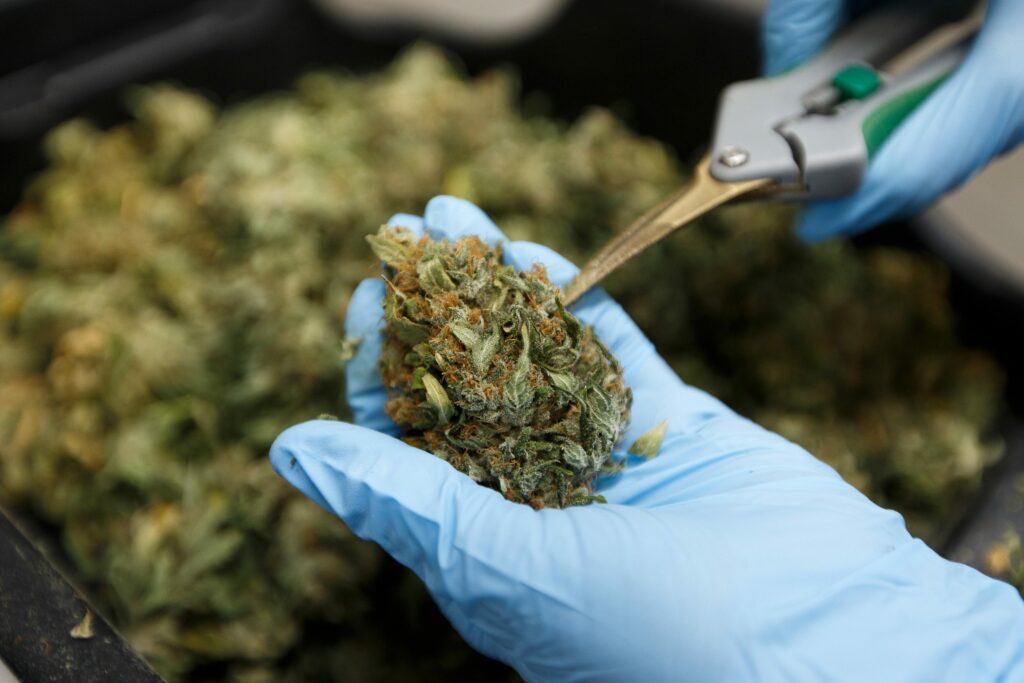
- Trim Leaves: Remove large fan leaves and trim sugar leaves. This improves airflow around the buds and speeds up drying.
- Hang Branches: Hang branches upside down in a dark, cool room with good air circulation. Ensure that branches are spaced apart to allow for even drying.
- Monitor Conditions: Maintain a temperature of 16-21°C (60-70°F) and humidity of 45-55%. Drying should take about 7-10 days.
Curing Techniques
- Jar Curing: Place dried buds in glass jars, filling them about 75% full. This helps to control humidity and preserve the quality of the buds.
- Burping: Open jars daily for 10-15 minutes to release moisture and allow fresh air exchange. This process should continue for at least two weeks.
- Long-Term Storage: After 2-4 weeks of curing, store jars in a cool, dark place. Properly cured buds can be stored for months without losing quality.
Curing Tips
- Use humidity packs to maintain optimal moisture levels in jars.
- Avoid exposing jars to light and heat.
- Check buds regularly for mold during the curing process.
Common Mistakes to Avoid
Frequent Errors in Growing
- Overwatering: Can lead to root rot and mold. Allow soil to dry out between waterings.
- Poor Light Management: Insufficient or excessive light can stunt growth. Adjust light distance and intensity based on plant needs.
- Ignoring pH Levels: Imbalanced pH can hinder nutrient absorption. Regularly test and adjust the pH of your water and nutrient solution.
Tips for Successful Cultivation
- Start Small: Begin with a few plants to learn the basics. This allows you to gain experience without being overwhelmed.
- Keep a Journal: Document your growing process to track progress and identify areas for improvement. Note down watering schedules, nutrient feeding, and any issues encountered.
- Stay Informed: Continuously educate yourself through books, forums, and reputable websites. Stay updated on the latest growing techniques and trends.
Indoor vs. Outdoor Growing
Pros and Cons
- Indoor Growing: Controlled environment, year-round cultivation, privacy. Higher initial cost, requires more equipment. Offers protection from pests and harsh weather conditions.
- Outdoor Growing: Lower cost, natural sunlight, potentially larger plants. Dependent on weather, risk of pests and theft. Provides a more natural growing environment and can result in higher yields.
Best Practices
- Indoor: Invest in quality lights, maintain proper ventilation, and control temperature and humidity. Use reflective materials to maximize light efficiency and ensure a consistent light cycle.
- Outdoor: Choose a sunny location, protect plants from pests, and ensure adequate soil quality. Use natural barriers to protect plants from strong winds and excessive rain.
Growing Tips
- Consider using a greenhouse for outdoor grows to extend the growing season.
- Use companion planting to deter pests and improve soil health.
- Implement a crop rotation plan to maintain soil fertility and prevent disease buildup.
Conclusion
Growing feminized cannabis plants can be an incredibly rewarding experience, providing you with top-quality buds and a deeper connection to your gardening efforts. By following this comprehensive guide, you’ll be well on your way to a successful harvest. Remember, patience and attention to detail are key to becoming a proficient cannabis grower. Enjoy the process and happy growing! 🙌
FAQs
1. How long does it take to grow feminized cannabis?
The entire process from germination to harvest typically takes 3-6 months, depending on the strain and growing conditions.
2. Can I grow feminized cannabis outdoors?
Yes, feminized cannabis can be grown outdoors, provided you have a suitable climate and adequate sunlight.
3. What is the best soil for feminized cannabis?
A well-draining, nutrient-rich soil mix with organic matter is ideal for feminized cannabis plants.
4. How can I tell if my cannabis plant is ready to harvest?
Check the trichomes and pistils. Trichomes should be milky white with some amber, and pistils should be orange or brown.
5. What are the most common mistakes when growing feminized cannabis?
Common mistakes include overwatering, poor light management, and ignoring pH levels. Ensure you provide proper care and monitor your plants regularly.
